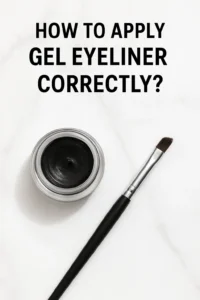
If you’ve ever sat in front of the mirror, with a gel eyeliner and brush in hand, wondering “Why does this never look as good as on Instagram?” — trust me, you’re not alone!
Gel eyeliner can feel like a tricky little pot of mystery at first. Too much product, and it smudges. Too little, and it disappears. And let’s not even talk about uneven wings! Uhhhuhh!
But here’s the good news: applying gel eyeliner isn’t rocket science.
With the right tips, a steady hand (well, steady-ish), and a few clever hacks, you can get that sleek, polished look in no time.
Whether you’re a total beginner or someone who just wants to sharpen their eyeliner game, this guide will walk you through step-by-step gel eyeliner tips, hacks, and mistakes to avoid — all explained in the easiest, most beginner-friendly way.
So, grab your brush, open that little pot of magic, and let’s master how to apply gel eyeliner correctly together!
1. Start with the Right Tools
A good gel eyeliner deserves a good brush. Opt for an angled eyeliner brush or a fine-tipped one — they help you create both thin and bold lines with ease.
Pro Tip: Keep a clean brush handy before you start. A dirty brush can make your strokes patchy and even cause irritation.
2. Prep Your Eyes
Even the best way to apply gel eyeliner won’t work on oily lids.
- Cleanse your eyelids to remove excess oil.
- Apply a thin layer of eyeshadow primer for a smooth base.
- If you want extra staying power, lightly dust translucent powder over the primer.
This prevents smudging and keeps your gel eyeliner for beginners experience stress-free.
3. Load Your Brush Correctly
One common mistake is overloading your brush. Dip just the tip into the gel eyeliner pot, then wipe off excess on the pot’s edge. This helps you avoid clumps and achieve smooth gel eyeliner application.
Pro Tip: Always close the lid tightly after use to keep the gel creamy and long-lasting.
4. Apply in Small Strokes
Instead of trying to draw one continuous line, use short, gentle strokes from the inner corner of your eye toward the outer edge.
- For a natural look, stay close to the lash line.
- For a bold cat-eye, slightly wing it out at the end.
This gel eyeliner tutorial method ensures control and precision.
5. Fix Mistakes Quickly
Even pros make mistakes! If you smudge your line, use a cotton swab dipped in micellar water to clean it up before it dries.
Pro Tip: Keep concealer handy to sharpen your eyeliner edges for that crisp, pro finish.
6. Experiment with Styles
Once you master the basics, try different gel eyeliner hacks:
- Thin and classic: Everyday wear.
- Winged liner: Glam night look.
- Double line: Add color above your black liner for fun.
Playing with styles not only improves your skill but also boosts your confidence.
7. Mistakes to Avoid
Knowing what not to do is just as important:
- Don’t use an old, dried-out gel eyeliner — it will tug at your skin.
- Don’t skip brush cleaning — bacteria buildup can harm your eyes.
- Don’t leave the pot open — air exposure dries out the product.
Avoiding these gel eyeliner mistakes ensures a smooth and safe application every time.
8. Practice Makes Perfect
The best way to apply gel eyeliner is simply to keep practicing. Spend a few minutes each day trying different looks. Over time, your hand will naturally become steadier.
Final Thoughts
Mastering how to apply gel eyeliner correctly isn’t as tricky as it seems. With the right tools, proper brush technique, and a little patience, you can achieve perfect, smudge-proof lines every single time.
So grab your eyeliner brush, try these gel eyeliner application tips, and let your eyes do the talking!
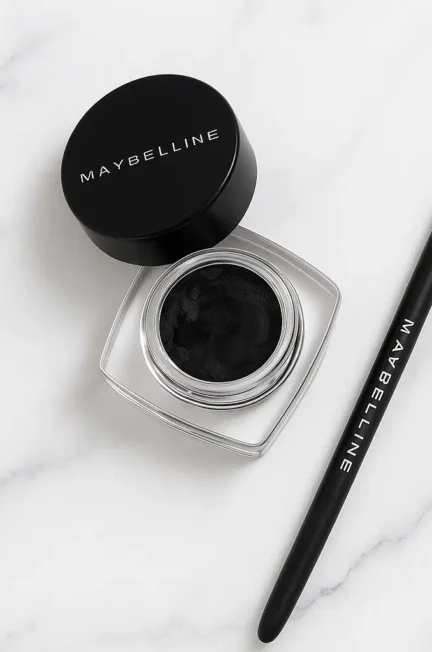
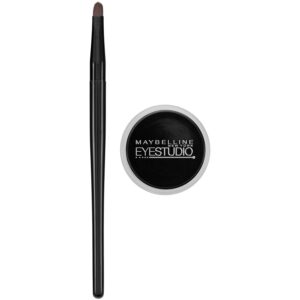
My Personal Favorite
Maybelline New York Eye Studio Lasting Drama Glossy Gel Eyeliner
This post may contain affiliate links which means I may receive a commission for purchases made through links. Learn more on my Affiiliate Disclosure page.